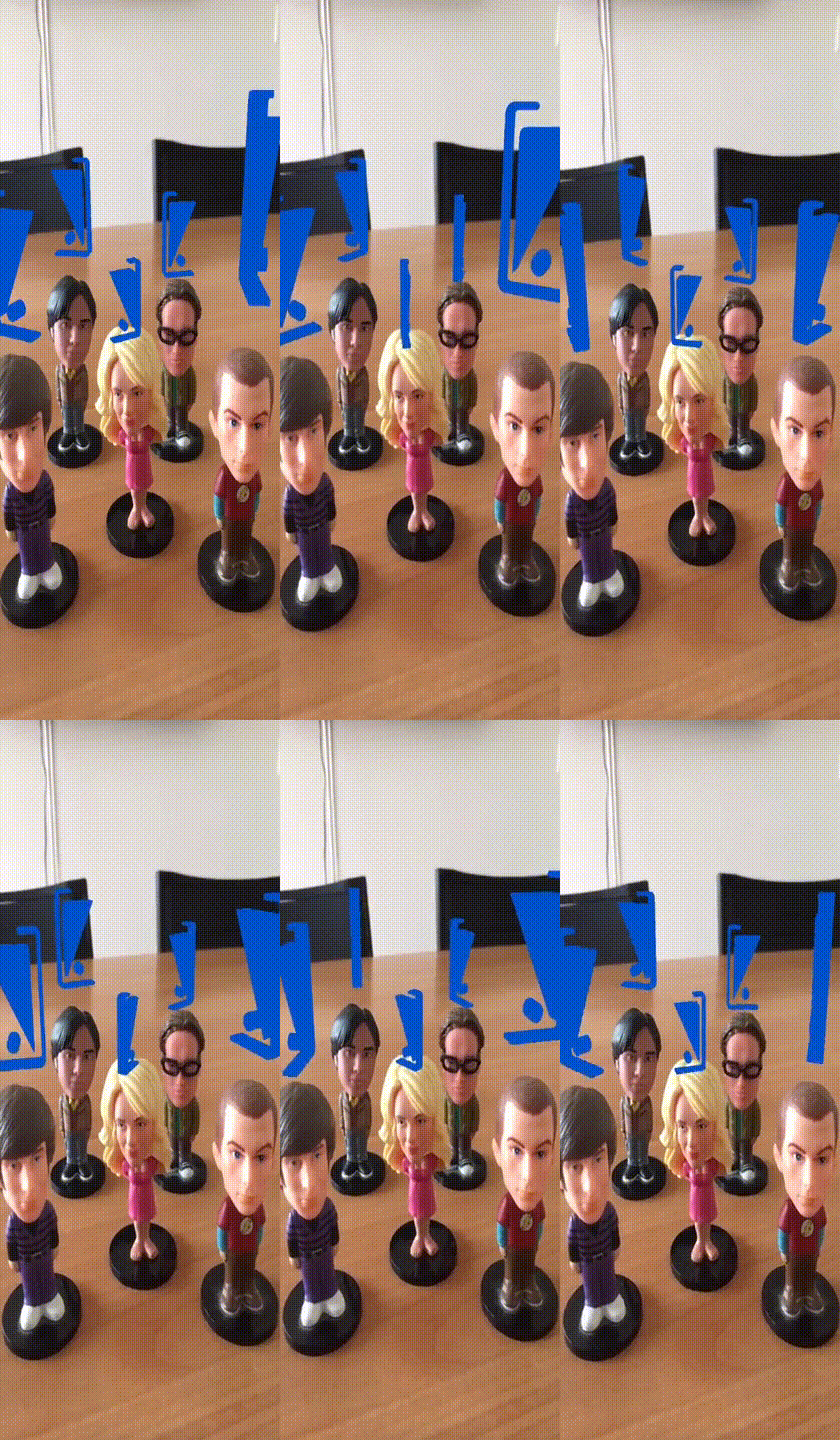
In this blog post we'll briefly describe our experience using two Apple Frameworks: ARKit and Vision.
ARKit (as you probably already know) is an augmented reality platform.
The somewhat less popular Vision framework performs face and face landmark detection, text detection, barcode recognition, image registration, and general feature tracking.
Here we will briefly describe how we built an app that can detect faces with vision and place a 3D model over people's heads in the open world thanks to ARKit.
The app is called ARHat and you can find the finished project on Github here.

Intro
We are going to separate the process in two main parts. Each one corresponding to one of the frameworks in use.
First we will detect the faces that are found in the current frame the camera is capturing, and secondly we will transform the 2D coordinates into 3D coordinates, and draw a 3D model over the heads.
The reason why we separated the app in two parts is that the ARKit does not offer the possibility to detect faces with the back camera, and Vision gives us only a 2D representation of the face.
Could we use only the 2D representation?
Yes we could, with the 2D coords that Vision give us we could draw anything over the face in the screen.
Why did we use ARKit then?
We could have drawn an image just using Vision on the faces of the person, but since we only had the 2D coordinates we would lose depth and the rotation of the user's face.
Using ARKit we were able to convert 2D coordinates into the 3D coordinates in the open world.
Part 1: Detecting faces with Vision
We created a manager called FaceTrackingManager that leverages Vision's functions to detect faces.
This class has two private properties, faceDetectionRequest and faceDetectionHandler.
The property faceDetectionRequest is an instance of the class VNDetectFaceLandmarksRequest. This class is an image analysis request that finds facial features in an image, and the property faceDetectionHandler is an instance of the class VNSequenceRequestHandler, which conducts image analysis for each frame in a sequence.
In this manager, we add two functions, the first one is called trackFaces, that receives a CVPixelBuffer as input parameter and returns an array of VNFaceObservation objects.
func trackFaces(pixelBuffer: CVPixelBuffer) -> [VNFaceObservation] {
    try? faceDetectionHandler.perform([faceDetectionRequest], on: pixelBuffer, orientation: .right)
    guard let bondingBoxes = faceDetectionRequest.results as? [VNFaceObservation] else {
       return []
    }

    return bondingBoxes
}
The second function is called getFaces. It receives an array of VNFaceObservation elements, a resolution and returns an array of Face2D objects.
func getFaces(_ faceObservations: [VNFaceObservation], resolution: CGSize) -> [Face2D] {
    var faces: [Face2D?] = []

    for faceObservation in faceObservations {
        faces.append(Face2D(for: faceObservation, displaySize: resolution))
    }

    return faces.compactMap({ $0 })
}
The function getFaces creates a Face2D model for each instance of VNFaceObservation.
The Face2D model is an auxiliary model used to represent the faces detected in the screen. It has only two properties, a point that indicates where the center between both eyes is, and another point that indicates where the chin is.
let btwEyes: CGPoint
let chin: CGPoint
With these points we can calculate the size of the head and where the face is.
Placing the faces in the 3D open world
Once we know where the faces are in the screen we need to calculate the point in the 3D world. To do this we use a function provided by ARKit called hitTest. It receives a 2d point as input parameter and returns a parameter named worldTransform that contains a 3D position.
The way hitTest works in a nutshell is it throws a ray from the point passed as parameter, and it returns the first 3D object that was hit with that ray.
As we had the Face2D model we also created the Face3D class, that receives a Face2D instance and creates a similar object but with 3D points using hitTest as described above.
let btwEyes: SCNVector3
let chin: SCNVector3

init?(withFace2D face2D: Face2D, view: ARSCNView) {
    let hitTestBtwEyes = view.hitTest(face2D.btwEyes, types: [.featurePoint])
    let hitTestChin = view.hitTest(face2D.chin, types: [.featurePoint])

    guard let btwEyesTransform = hitTestBtwEyes.first?.worldTransform, let chinTransform = hitTestChin.first?.worldTransform else {
        return nil
    }

    btwEyes = SCNVector3(btwEyesTransform.columns.3.x, btwEyesTransform.columns.3.y, btwEyesTransform.columns.3.z)
    chin = SCNVector3(chinTransform.columns.3.x, chinTransform.columns.3.y, chinTransform.columns.3.z)
}
Showing the 3D model over the user's head
After retrieving the 3D coordinates, it's time to draw the 3D model over the head.
To do this we create a SCNNode object with the model that we want to show, then we set the node position as the 3D point of the eyes of the face, and we move the model in the y axis to put it over the head. Then we start an infinite rotation. We will also scale the node depending on the face's size, which we will estimate using the difference between the eyes and also the location of the chin.
let facePosition = face.getPosition()
let hattrickNode = ModelsManager.sharedInstance.getNode(forIndex: index)
if hattrickNode.parent == nil {
    hattrickNode.position = facePosition
    hattrickNode.position.y += face.getFaceSize() * faceProportion
    hattrickNode.infiniteRotation(x: 0, y: Float.pi, z: 0, duration: 5.0)
} else {
    let move = SCNAction.moveBy(x: CGFloat(facePosition.x - hattrickNode.position.x), y: CGFloat(facePosition.y + face.getFaceSize() * faceProportion - hattrickNode.position.y), z: CGFloat(facePosition.z - hattrickNode.position.z), duration: 0.05)
    hattrickNode.runAction(move)
}
hattrickNode.scale = SCNVector3(face.getFaceSize() * modelScale, face.getFaceSize() * modelScale, face.getFaceSize() * modelScale)
After the node is properly initialized we add it to the scene:
self.previewView.scene.rootNode.addChildNode(hattrickNode)
A couple of lessons learned
Initially we wanted to build an app that recognized faces and added a wig over their heads in the 3D open world, but we found a roadblock. ARKit does not provide a tool that can recognize faces in the open world. ARKit 2.0 provides a a way to detect faces in 3D, but this configuration works only with iPhone X or higher and only with the front camera (because to do so it leverages all the sensors used for FaceID) but this is not what we are looking for.
Another issue we came across is that the hitTest method provided by ARKit that we used to convert points in the 2D space into the 3D space is not very reliable in some cases. ARKit is still pretty new, and though it's very advanced technology, it still has its way to go.
Conclusion
The purpose of this app was to keep learning about ARKit in the context of face and object tracking.
We would have liked building a fancier app, but it wasn't possible with the toolkit we decided to use for this project.
Of course you can always try to find a way to overcome some of these blockers, like proprietary technology from companies that focus on 3D object tracking and have been doing so for years, but that was not the scope of this exercise.
Let us know in the comments below if you have any questions or feedback. You can also contact us at [email protected] or visit our site for more info about us.


